Sublimation printing rewards clean, well-built artwork and punishes sloppy files. Because the ink dyes the polyester fibers, every pixel of your file ends up on the fabric — there is no ink layer to hide behind, no thread to mask with, no plate to engrave differently. What you send is what you get.
This guide walks you through the exact artwork specifications we ask every B2B client to follow. It is the same checklist our pre-press team uses when we review incoming files, and following it will cut your first-sample approval time in half.
01.1. Pick the Right File Format
Best formats (in order of preference):
AI (.ai) — Adobe Illustrator native. Best for vector logos, type, and any flat color artwork. Editable, scalable to any garment size without quality loss.
EPS (.eps) — universal vector format. Works in every pre-press software. Use this if you don't have AI.
PDF (.pdf) — vector PDF with text outlined and images embedded. Industry standard for production files. Use "Press Quality" or "PDF/X-4" preset when exporting.
PSD (.psd) — Photoshop native. Best for full-color photo-realistic designs and all-over prints. Keep layers intact and flattened only as a final step.
SVG (.svg) — modern vector format. Works for simple web-style designs. Not preferred for production but acceptable for sample-stage files.
Formats to avoid: JPG/PNG (raster — quality degrades with scaling), DOC/PPTX (not for production), low-res screenshots, flattened bitmaps below 150 DPI.
02.2. Set Up Your Document Correctly
Use the actual garment size at 1:1 scale. If you are printing a design on a 30 cm wide x 40 cm tall print area on the front of a t-shirt, set your document to 30 x 40 cm (or the equivalent in mm/inches). Do not design at A4 and assume we will scale it.
Resolution for raster elements: 150 DPI at final print size is the minimum. 200-300 DPI is preferred for photo elements. Lower than 150 DPI will produce visible pixelation, especially on small text or fine details.
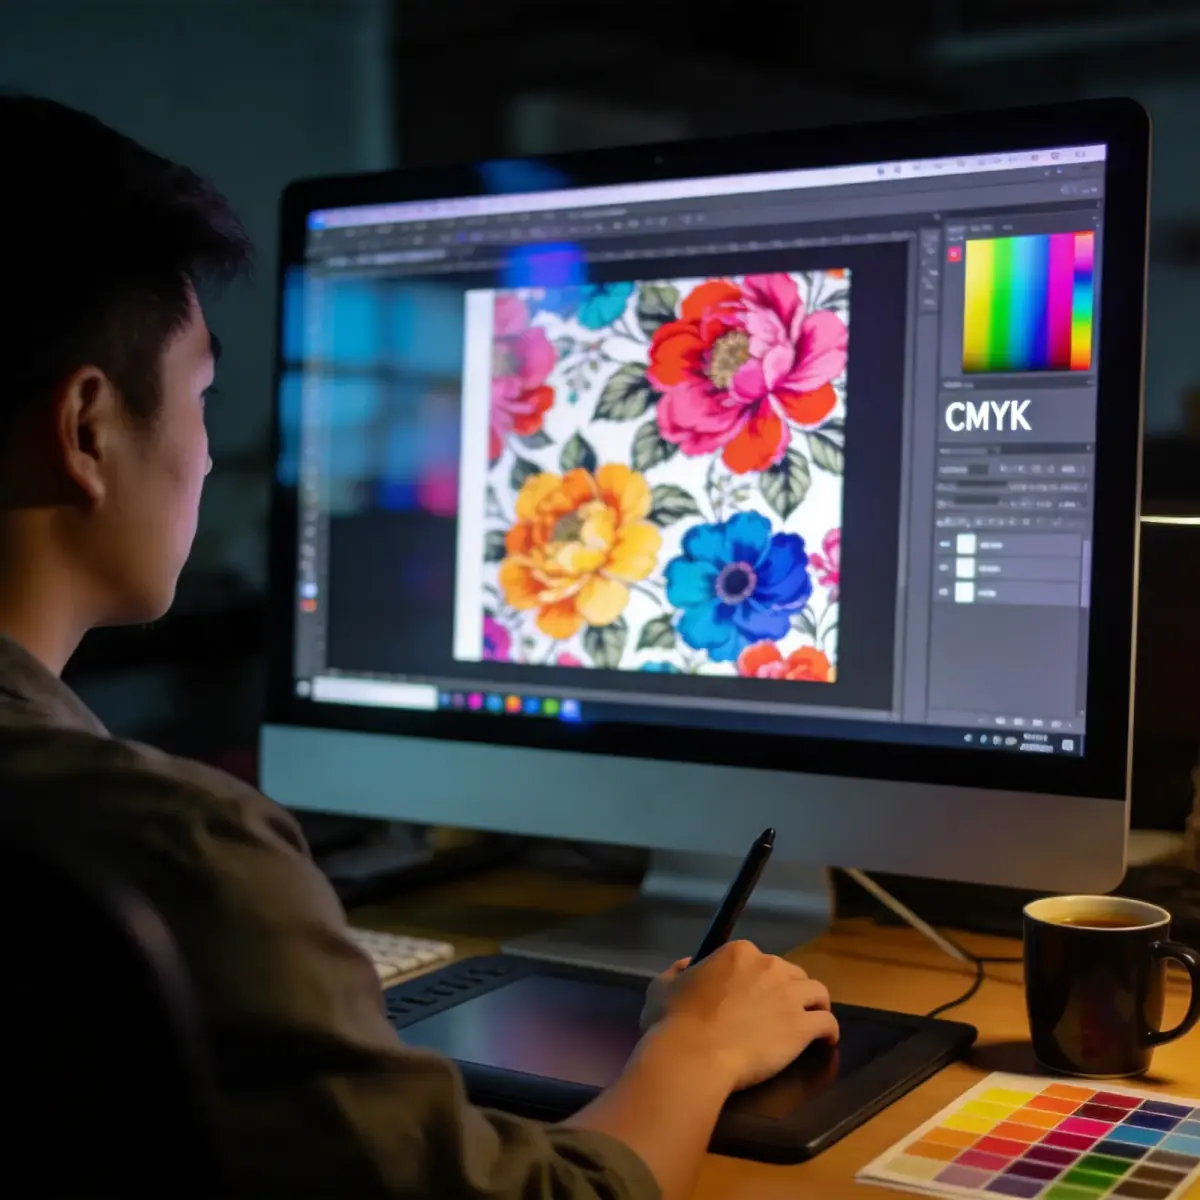
Color mode: CMYK for accurate print color matching, or RGB if you are okay with the printer's automatic conversion. Avoid spot colors (Pantone) unless you specifically request Pantone-matching inks (extra cost).
Bleed: extend any background colors or edge-to-edge designs 3-5 mm past the cut line. Sublimation is usually a panel print with sewn seams, so bleed helps cover minor alignment shifts between panels.
03.3. Embed or Outline Everything
Two things cause 80% of production delays: missing fonts and missing images.
For fonts: either embed them in the PDF (check the box when exporting) or convert all text to outlines / paths before sending. Outlined text cannot be edited, so save a separate editable version for yourself and send the outlined version to us.
For images: place all images into the document at final size and resolution. Do not link to external files. Do not send a folder of loose images alongside the main file. Embed everything into one self-contained master file.
If you send a layered PSD, keep all text layers editable and all images embedded. Do not flatten until we confirm the design.
04.4. Color Management and Pantone Matching
Sublimation printers produce millions of colors, but not every color on screen is reproducible. Bright neons, metallic inks, and very dark blacks often shift slightly on fabric.
For critical brand colors: provide a Pantone (PMS) reference. We will color-match the print to the closest reproducible Pantone. Note that on polyester, the color will look slightly different than on paper — fabric absorbs ink differently than coated stock.
For dark colors: avoid pure black (CMYK 0,0,0,100). Use rich black (CMYK 60,40,40,100) for a deeper, more saturated black on fabric.
For white elements: they will not print. The white you see on the final garment is the white of the polyester fabric. If your design has white text or elements, just leave those areas transparent in the file.
05.5. Common Mistakes That Delay Production
Mistake 1: Sending a low-res JPG. We have to redraw or upscale the artwork, adding 2-3 days to the sample timeline. Start with a 1:1 vector or 200+ DPI raster.
Mistake 2: Not outlining the text. We don't have your custom font. The file opens with substituted fonts and the layout shifts. Always outline text before sending.
Mistake 3: Forgetting the back of the garment. Many clients send a beautiful front design and forget they also need artwork for the back, sleeves, or collar. Specify all print locations in one file or label layers clearly.
Mistake 4: Designing on a transparent background but expecting a white background. We print what you give us. If the background is transparent, the garment color shows through.
Mistake 5: Sending artwork at the wrong scale. A logo designed for a business card is 5 cm wide. The same logo printed 30 cm wide on a jersey will look pixelated. Always design at final print size.
06.6. Our Free Artwork Template
We provide a free Adobe Illustrator template with pre-set artboards for every garment type we make — t-shirts, polos, hoodies, jerseys, tank tops, and shorts. Each artboard is set to the actual printable area for that garment, with seam lines and safe zones marked.
Download it from the Artwork Upload section of any quote request, or ask us to send it. Using the template is the single fastest way to get your file approved on the first review.
If you are not an Illustrator user, ask us for a PDF template with the same dimensions. Just place your design inside the marked area and save as a vector PDF.
?Frequently Asked Questions
What file format is best for sublimation printing?
Vector files (AI, EPS, PDF, SVG) are best for sublimation printing because they scale to any size without losing quality. They are also required for any design element that needs sharp edges, text, or logos. Raster files (PNG, PSD, TIFF) are acceptable for photo-realistic artwork as long as the resolution is high enough — typically 150-300 DPI at the final print size.
What resolution do I need for sublimation printing?
For raster artwork (PNG, PSD, TIFF, JPEG), we recommend 150 DPI at the final print size, with 300 DPI as the gold standard. For an all-over print t-shirt (roughly 30" x 40" print area), this means your file should be at least 4,500 x 6,000 pixels. Lower resolution produces visible pixelation, especially on large print areas.
Can I send a PNG for sublimation printing?
Yes, as long as the resolution is high enough (150-300 DPI at final print size) and the file is not heavily compressed. PNG is fine for photo-based or gradient designs. For logos, text, or sharp-edged designs, a vector file (AI, EPS, PDF) is much better because it stays crisp at any size. We can also work from layered PSD files.
What color mode should I use for sublimation?
Use RGB color mode (not CMYK) for sublimation printing. Sublimation printers use CMYK ink sets but the color management is different from offset printing — RGB files produce more vibrant, saturated colors on fabric. Save your file in sRGB color space and we will handle the conversion to the printer profile. Avoid heavy CMYK color profiles, which can look dull.
Do you need vector files for sublimation?
Vector files are strongly recommended for any text, logo, or sharp-edged design element, because they stay crisp at any print size. Photo or gradient backgrounds can be raster (PNG, PSD, TIFF) at 150-300 DPI. If you only have a low-res raster file, send it anyway — we can assess whether the quality is workable or whether we need to re-create part of the design.
Ready to start?
Get a custom quote in 24 hours.
Send us your design, quantity, and deadline. We will recommend the right technique and provide a transparent DDP quote including shipping to your door.
Get a Free Quote